Friday, September 30, 2011

Chocomint Cheese Cake

Two things that I really enjoy eating is chocolate and cheese. With a dose of peppermint flavour added to them, it would be a splendid combination indeed for dessert. This recipe was taken from Anncoo blog with some slight modifications. I'm making this cake after my working hours and with all the mess in hands and number of steps involved, I hardly have enough time to snap more pictures to share.  Even though I'm making half of this recipe, it's worth all the effort being put in after seeing my bakes from the oven. I hope you will too  ;-)


INGREDIENTS
Chocolate sponge cake (Base)
4 eggs, separate egg yolks and whites
70g Sugar
60g cake flour, sifted
20g cocoa powder, sifted
40g butter
20g milk

Mint cheesecake
250g cream cheese
50g granulated sugar
3 large eggs
40g whipping cream
1 to 2 tsp peppermint essence

METHOD
You will need to prepare the base first before making the cream cheese mixture
Chocolate sponge cake (Base)
  1. Beat egg yolks and half of the sugar using a balloon whisk until pale and fluffy. 
  2. Using spatula, mix in flour, cocoa powder, milk and melted butter. 
  3. Beat egg whites and the remaining sugar using an electric hand-mixer until soft peaks form. 
  4. Fold egg whites into the egg yolks mixture slowly, do not stir.
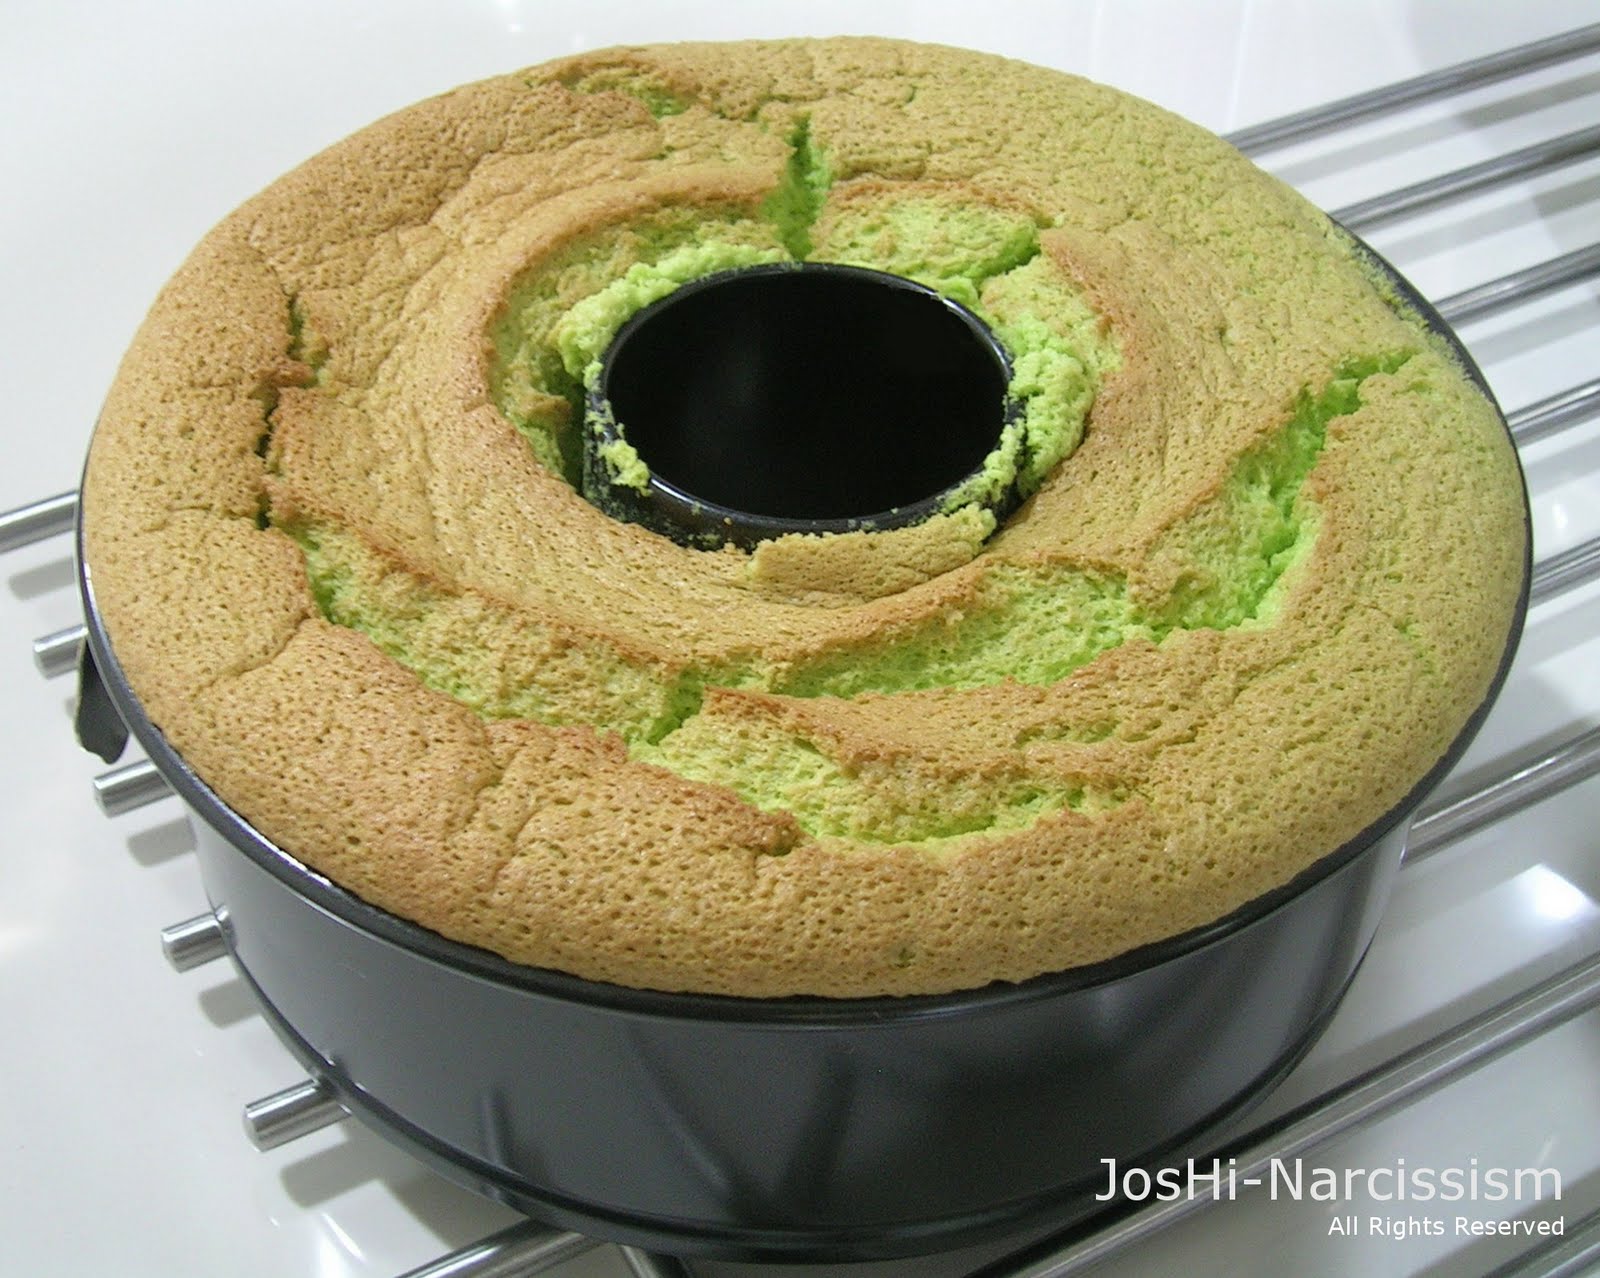
  5. Pour the mixture into a 8" square cake tin and bake in a preheated 180C oven for about 20 minutes or until done.
  6. Leave the cake to cool in tin while you prepare the cream cheese batter
Cream Cheese mixture
  1. Beat cream cheese and sugar using an electric hand-mixer until smooth.
  2. Add one egg at a time and combine well after each addition.
  3. Fold in whipping cream and peppermint essence, stir well.(optional ~add a small drop of apple green coloring)
  4. Pour the cream cheese batter over the chocolate cake base.
  5. Bake in water bath at 160C for about 30-45 minutes.
  6. Leave the cheesecake cool in cake tin before removing it.
  7. Chill cheesecake in the refrigerator for at least 4 hrs before serving.
Enjoy like I did

Monday, September 26, 2011

ChocoSpice Cupcake

While blogwalking, I stumbled upon this quick and easy cupcake recipe made for two which suits any occasion (tea break, valentine or cravings). What's more amazing is NO BAKING is involved and it can be ready in merely 2 minutes. If you have a microwave oven, you're all set to go for this simple recipe. The only caution here is you need to have silicon cupcake liners because paper liners won’t hold their shape and foil liners are not microwave safe. Nonetheless, I opt for ramekins instead. 

Just The 2 of Us
INGREDIENTS
2 tbs all purpose flour
2 tbs brown sugar or granulated sugar
4 tsp cocoa powder
1/4 tsp of all spice powder
1/4 tsp cinnamon powder
4 tbs milk
1 1/2 tbs unsalted butter, melted 
1/2 egg, lightly whipped
Canned whipped cream
Sprinkles

METHOD
1. Whisk all dry ingredients in a medium bowl.
2. Mix in melted butter, milk and egg until fully integrated.

3. Pour the batter equally into two ramekins.
4. Microwave on medium for one minute. The cupcake is considered cooked if it bounced back when lightly touched. If not, microwave for another minute.

5. Decorate the top with whipped cream and sprinkles.
6. Serve warm and enjoy. You have to be quick, else the heat will melt the whipped cream ;-) 
Seems like my results doesn't match what the original recipe proclaims.
If anyone try this out, please let me know.. 
Here's the link to the recipe at Paula Deen

Saturday, September 17, 2011

Cream Cheese Pound Cake

My parents came down over the weekend and I planned to bake something simple and nice for them. While cleaning up my refrigerator, I found a block of Philadelphia cream cheese. Remembering that I've come across a pound cake recipe at HowToEatACupcake that claims to be the best recipe ever discovered. So here's my adaptation of the recipe and I have to agree that it's very easy to make and delicious as claimed. One thing for sure is that I need to cut down the sugar level as my parents don't really like too-sweet stuff as they used to.


INGREDIENTS

180g salted butter, at room temperature
125g cream cheese, at room temperature
2/3 cup (150g) granulated sugar
3 large eggs, at room temperature
150g cake flour, sifted
1/2 tbs pure vanilla extract
Almond nibs as required


METHOD
1. Preheat the oven to 170 °Celcius and line the bottom of a  10x5" loaf pan with baking paper. 
2. Place the butter, cream cheese and sugar in a bowl and beat on medium speed with a hand-mixer for 5 minutes. Add the eggs, one at a time, beating for 30 seconds after each addition and scraping down the sides of the bowl as necessary.
Cream Cheese plus Butter
3. Beat in the vanilla essence using medium speed for 30 seconds.
4. With the mixer on low speed, add half of the flour mixture and beat for 30 seconds. Add the remaining flour and beat on medium speed for another 30 seconds.
5. Pour the batter into pan and shake lightly to even out the top. Sprinkle the toasted almond nibs on top of the batter.

6. Bake for 45 minutes or until cake is golden brown.
5. Once done, cool the cake completely on a wire rack. Serve at room temperature and enjoy. 

Yummylicious
 

Thursday, September 15, 2011

No More Smelly Hands


It is worth investing in steel soap which is a piece of stainless steel in the shape of a soap ‘bar'.
It never wears down and it removes the smell of seafood, garlic and onion from your hands without stripping them. And most important of all, its affordable and you can get it from Daiso at just RM5, hehe.

Sunday, September 11, 2011

Fragrant Pandan Chiffon Cake

My pandan plants are growing to an enormous size now, must be the natural fertilizer provided by stray cats and dogs around my housing areas as well as abundant rain showers these past weeks. Yeah, I need to trim my plants to avoid it becoming a breeding ground for snakes. It would be a waste to just throw these nice and juicy pandan leaves which are so useful in many ways. I was told by many people that it is very difficult to make chiffon cake, including my mum but I don't want to give up and am not easily defeated. So here's my first attempt.

INGREDIENTS
4 eggs white
4 egg yolks
80g granulated sugar
1/3 cups (75ml)  corn oil
30ml  coconut milk
1 cup water
2 tbs of pandan extract (produced from10 pandan leaves)
1/2 cup (55g) all purpose flour
1/2 tsp emulsifier (ovalett)
1 tbs baking powder
1/2 tsp cream of tartar
1/2 tsp fine salt (optional)

METHOD
1. To prepare the natural pandan extract, blend the 10 coarsely chopped pandan leaves until fine with 1 cup of water. Sift the juice into a clear or glass container and let it sit for 15 minutes. Two layers of color can be seen and the thicker green extract is the one we need, about 2 tbs.
Blended pandan leaves
Pandan extract - juice


2. Separate the egg whites from the yolk into two different bowls. Make sure no yolk residue is found in the egg whites or be prepared for the worst.
3. Sift flour, baking powder and salt into a bowl. 
4. Add in the granulated sugar and emulsifier into the egg yolks and beat it until pale and frothy using a electric hand-mixer. Then beat in the oil, coconut milk and pandan juice until well combined.
5. Using a whisk, mix sifted flour into the egg yolk batter until integrated.
Step 5
6. Add in the cream of tartar into the egg whites and beat until stiff peak is formed.
7. Fold in the egg whites using a spatula into the egg yolk batter slowly until color is uniform. You can do this gradually by mixing half of batter.
Step7
8. Pour the mixture into an ungreased 7 inch tube pan and smooth the top.
9. Bake in the preheated oven at 170 Celcius for 40 minutes or until the skewer comes out clean.
10. Right after the cake is out of the oven, reverse the cake pan and let it cool.
11.  The cake does look  nice and its not easy to remove it from the pan while maintaining its shape. I use a knife and it turned out so ugly as you can see from my picture above.


Here's one method that I should have tried on instead to remove the chiffon cake from my pan.

Sunday, September 4, 2011

Easy-Mix Walnut Brownie (Part 1)

I must confess that I'm so into chocolate and brownie is one of my favorites. Brownie is a type of dense, rich chocolate cake, which is, in texture, like a cross between a cake and a cookie. Brownies come in a variety of forms, either fudgy or cakey and may include nuts, frosting, chocolate chips, or must I say, ice-cream.. So delicious!!! The moment you have a taste of it, just feel like heaven.

Well, being lazy and yet to find my perfect brownie recipe, I opt to buy something off the self to bake and there's so so many choices in the supermarket. Price-wise is about the same among the brands but most of them claim to be the best in the market. Let's check them out then, the 3 brands of walnut brownie that I bought..
1. Pillsbury (Made in Philippines), 
2. Betty Crocker (Made in USA) and 
3. Ghirardelli (Made in USA)
INGREDIENTS
1 box of walnut brownie
1 egg
1/4 cup of corn oil
1/3 cup of water 

METHOD
1. Preheat oven to 160 Celcius and line a 7 inch square pan.
2. Blend water, oil and egg in a medium bowl using a whisk or a hand mixer until integrated. Spoon batter into prepared pan and spread evenly.
3. Bake in oven for 30-40 minutes and do not overbake. Fresh-baked brownies appear underbaked  but cool to doneness.
4. Once cooled, cut brownies into rectangular sized and enjoy ;-) 

Here's the results
Pillsbury Walnut Brownie
My verdict on Pillsbury
It doesn't really taste nice and not up to my expectations. I find that it doesn't have that fresh smell of chocolate, too much artificial flavor. Definitely not buying this brand again.


For Ghirardelli and Betty Crockers results and review, please stay tune.