Saturday, September 17, 2011

Cream Cheese Pound Cake

My parents came down over the weekend and I planned to bake something simple and nice for them. While cleaning up my refrigerator, I found a block of Philadelphia cream cheese. Remembering that I've come across a pound cake recipe at HowToEatACupcake that claims to be the best recipe ever discovered. So here's my adaptation of the recipe and I have to agree that it's very easy to make and delicious as claimed. One thing for sure is that I need to cut down the sugar level as my parents don't really like too-sweet stuff as they used to.


INGREDIENTS

180g salted butter, at room temperature
125g cream cheese, at room temperature
2/3 cup (150g) granulated sugar
3 large eggs, at room temperature
150g cake flour, sifted
1/2 tbs pure vanilla extract
Almond nibs as required


METHOD
1. Preheat the oven to 170 °Celcius and line the bottom of a  10x5" loaf pan with baking paper. 
2. Place the butter, cream cheese and sugar in a bowl and beat on medium speed with a hand-mixer for 5 minutes. Add the eggs, one at a time, beating for 30 seconds after each addition and scraping down the sides of the bowl as necessary.
Cream Cheese plus Butter
3. Beat in the vanilla essence using medium speed for 30 seconds.
4. With the mixer on low speed, add half of the flour mixture and beat for 30 seconds. Add the remaining flour and beat on medium speed for another 30 seconds.
5. Pour the batter into pan and shake lightly to even out the top. Sprinkle the toasted almond nibs on top of the batter.

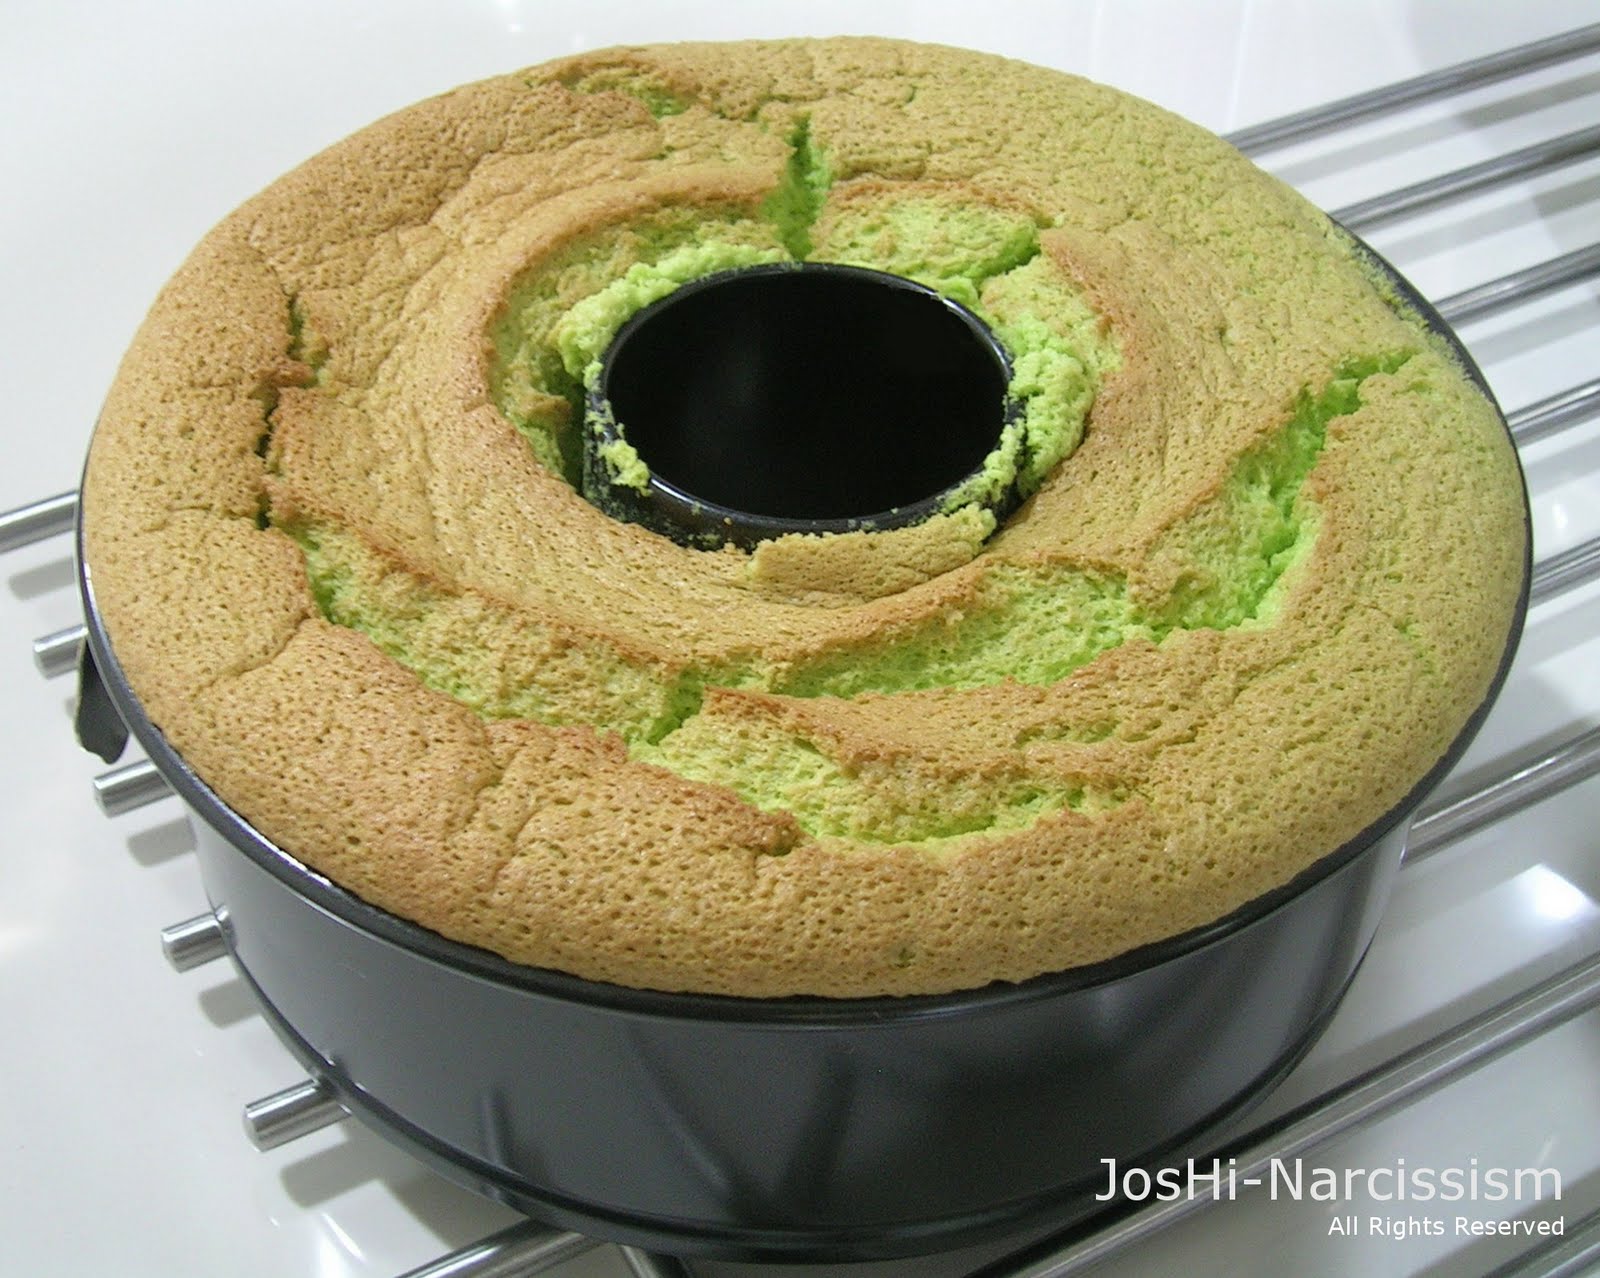
6. Bake for 45 minutes or until cake is golden brown.
5. Once done, cool the cake completely on a wire rack. Serve at room temperature and enjoy. 
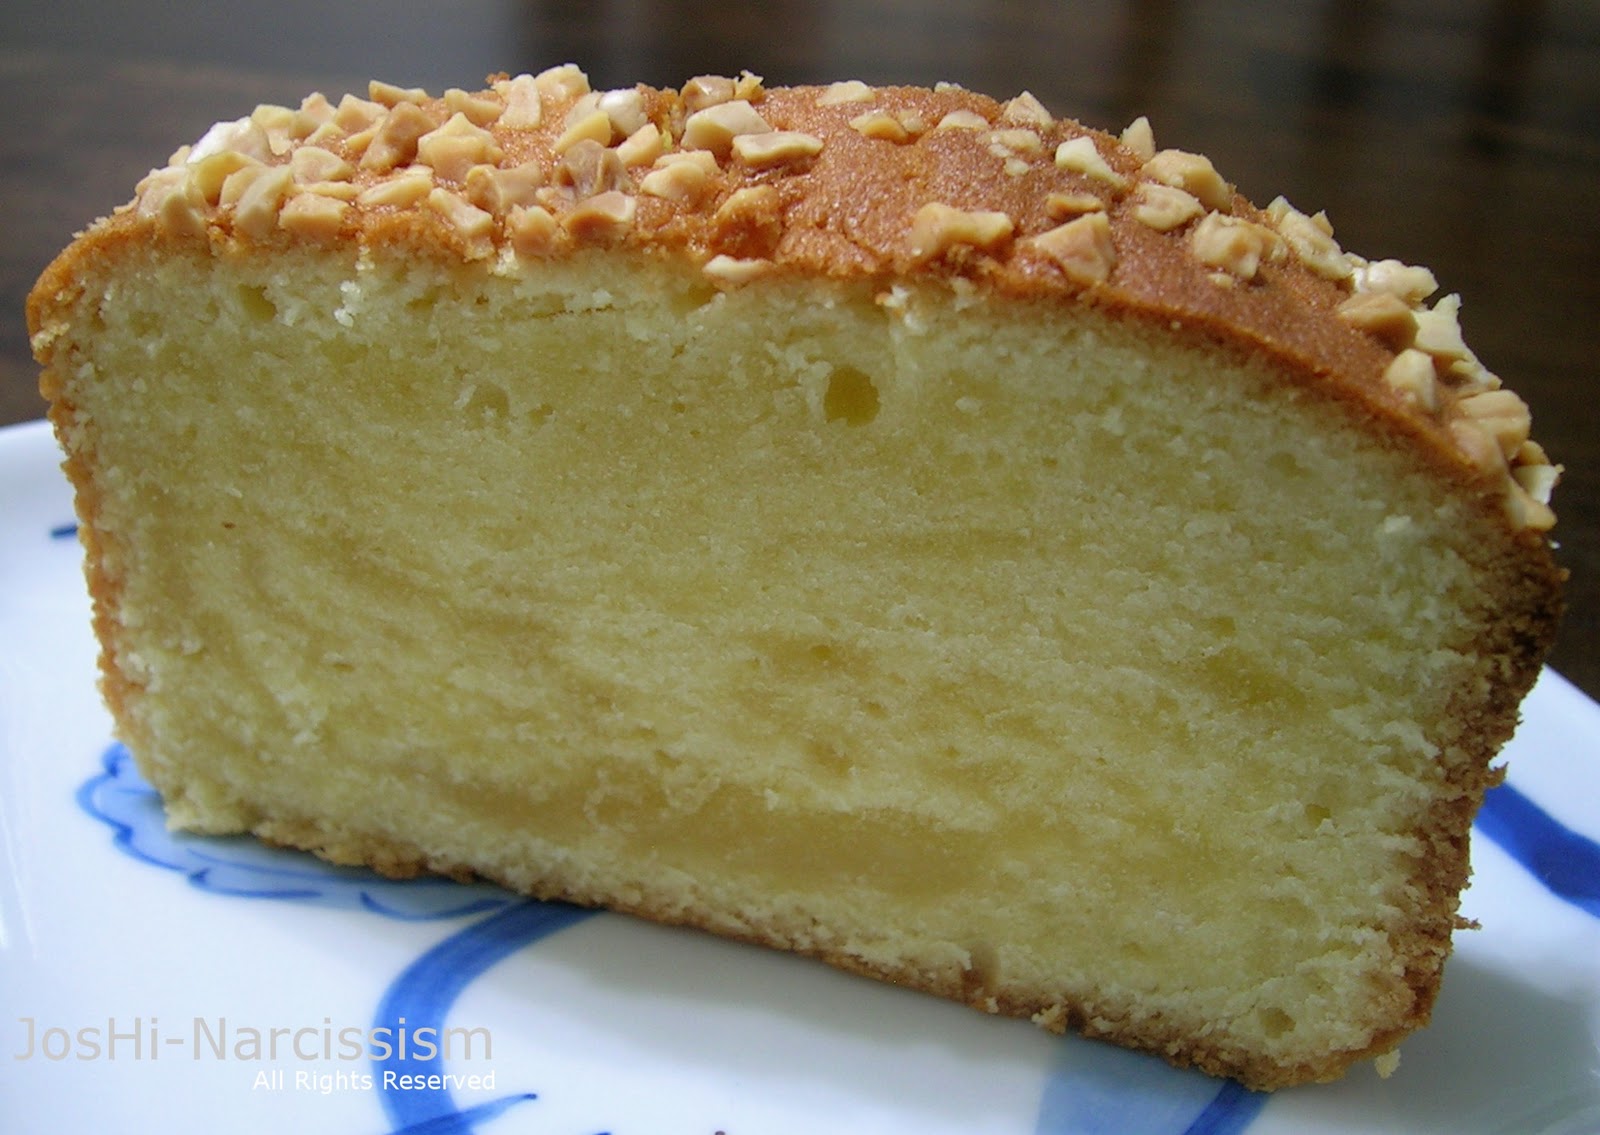
Yummylicious
 

Thursday, September 15, 2011

No More Smelly Hands


It is worth investing in steel soap which is a piece of stainless steel in the shape of a soap ‘bar'.
It never wears down and it removes the smell of seafood, garlic and onion from your hands without stripping them. And most important of all, its affordable and you can get it from Daiso at just RM5, hehe.

Sunday, September 11, 2011

Fragrant Pandan Chiffon Cake

My pandan plants are growing to an enormous size now, must be the natural fertilizer provided by stray cats and dogs around my housing areas as well as abundant rain showers these past weeks. Yeah, I need to trim my plants to avoid it becoming a breeding ground for snakes. It would be a waste to just throw these nice and juicy pandan leaves which are so useful in many ways. I was told by many people that it is very difficult to make chiffon cake, including my mum but I don't want to give up and am not easily defeated. So here's my first attempt.

INGREDIENTS
4 eggs white
4 egg yolks
80g granulated sugar
1/3 cups (75ml)  corn oil
30ml  coconut milk
1 cup water
2 tbs of pandan extract (produced from10 pandan leaves)
1/2 cup (55g) all purpose flour
1/2 tsp emulsifier (ovalett)
1 tbs baking powder
1/2 tsp cream of tartar
1/2 tsp fine salt (optional)

METHOD
1. To prepare the natural pandan extract, blend the 10 coarsely chopped pandan leaves until fine with 1 cup of water. Sift the juice into a clear or glass container and let it sit for 15 minutes. Two layers of color can be seen and the thicker green extract is the one we need, about 2 tbs.
Blended pandan leaves
Pandan extract - juice


2. Separate the egg whites from the yolk into two different bowls. Make sure no yolk residue is found in the egg whites or be prepared for the worst.
3. Sift flour, baking powder and salt into a bowl. 
4. Add in the granulated sugar and emulsifier into the egg yolks and beat it until pale and frothy using a electric hand-mixer. Then beat in the oil, coconut milk and pandan juice until well combined.
5. Using a whisk, mix sifted flour into the egg yolk batter until integrated.
Step 5
6. Add in the cream of tartar into the egg whites and beat until stiff peak is formed.
7. Fold in the egg whites using a spatula into the egg yolk batter slowly until color is uniform. You can do this gradually by mixing half of batter.
Step7
8. Pour the mixture into an ungreased 7 inch tube pan and smooth the top.
9. Bake in the preheated oven at 170 Celcius for 40 minutes or until the skewer comes out clean.
10. Right after the cake is out of the oven, reverse the cake pan and let it cool.
11.  The cake does look  nice and its not easy to remove it from the pan while maintaining its shape. I use a knife and it turned out so ugly as you can see from my picture above.


Here's one method that I should have tried on instead to remove the chiffon cake from my pan.

Sunday, September 4, 2011

Easy-Mix Walnut Brownie (Part 1)

I must confess that I'm so into chocolate and brownie is one of my favorites. Brownie is a type of dense, rich chocolate cake, which is, in texture, like a cross between a cake and a cookie. Brownies come in a variety of forms, either fudgy or cakey and may include nuts, frosting, chocolate chips, or must I say, ice-cream.. So delicious!!! The moment you have a taste of it, just feel like heaven.

Well, being lazy and yet to find my perfect brownie recipe, I opt to buy something off the self to bake and there's so so many choices in the supermarket. Price-wise is about the same among the brands but most of them claim to be the best in the market. Let's check them out then, the 3 brands of walnut brownie that I bought..
1. Pillsbury (Made in Philippines), 
2. Betty Crocker (Made in USA) and 
3. Ghirardelli (Made in USA)
INGREDIENTS
1 box of walnut brownie
1 egg
1/4 cup of corn oil
1/3 cup of water 

METHOD
1. Preheat oven to 160 Celcius and line a 7 inch square pan.
2. Blend water, oil and egg in a medium bowl using a whisk or a hand mixer until integrated. Spoon batter into prepared pan and spread evenly.
3. Bake in oven for 30-40 minutes and do not overbake. Fresh-baked brownies appear underbaked  but cool to doneness.
4. Once cooled, cut brownies into rectangular sized and enjoy ;-) 

Here's the results
Pillsbury Walnut Brownie
My verdict on Pillsbury
It doesn't really taste nice and not up to my expectations. I find that it doesn't have that fresh smell of chocolate, too much artificial flavor. Definitely not buying this brand again.


For Ghirardelli and Betty Crockers results and review, please stay tune.

Wednesday, August 31, 2011

Almost-Famous Chocolate Chip Cookies

Famous Amos cookies has been a favourite among cookie lovers, who doesn't? But the price to pay for it can be steep, especially if you have a big appetite for cookies. That's why, you will only get free smells from Famous Amos outlets and no free samples. I've been trying to get their recipe from the net, if there's any leak but the closest one that I can get is from another blogger,  Ampin, without mentioning which cookie type it is in the recipe. Nonetheless, I guess it's the taste that matters the most. I bumped into another one self-proclaimed recipe  from Fad Mom, an easier version and here's the recipe. I shall reserved Ampin recipe for now.

INGREDIENTS
Part A
150gm unsalted butter
100gm granulated sugar
50gm brown sugar
1 medium egg - an extra yolk makes it richer
1 tsp vanilla essence 

Part B
250gm plain flour
20gm corn flour
1 tsp baking soda
30 gm cocoa powder

Part C
100gm toasted walnuts (coarsely chopped)
80gm chocolate chips

METHOD

1. Sift part B ingredients in a bowl, mix well and keep aside.
2. Cream butter with both suga
r until light and fluffy. You will get a pale brownish color due to the brown sugar. If you're using a hand-mixer like I do, try to use a big bowl.
 3. Add egg and vanilla essence. Beat on medium speed until well mixed.
4. Using the lowest speed of the mixer, mix in the flour mixture until fully incorporate. I find my hands are better than the mixer for this step though.
5. Finally, add in the chopped nuts and chocolate chips. You may replace walnuts with any other type of nuts of your preference (pecans, macadamias, almond, cashew, etc). Combine well and you will get a dough structure.
6. Scoop the dough using a spoon or fingers and shape them into bite-size onto your baking pan, that has been lined with baking paper.
7. Bake the cookies in a pre-heated oven at 180 Celcius for about 20mins. You may notice some cracks on the cookies, which is perfectly normal.
8. Cool cookies on wire rack and enjoy!
 
TIPS
Besides good chocolate chips, try to use quality cocoa powder as the results may varies. My cookies are a bit dark as compared to Fad Mum. Probably, I should have use dutch-processed cocoa powder instead.

Monday, August 29, 2011

New York Style - Cheese Cake

I'm having a pool side BBQ tomorrow and here's my very first cheese cake, baking it overnight, pheww. Since my friends requested for it, so I made it. That's what friends are for, right! 
However, I still prefer the Japanese soft cheese cake more since its more spongy and not too rich.

(Recipe adapted from Diana Desserts,  a whole range of cheese cake)

INGREDIENTS
Crust
  • 10-12 digestive biscuits, crushed
  • 30g butter, melted
 Filling
  • 3 x 250g cream cheese, softened (I use Philadelphia, Kraft)
  • 150g granulated sugar
  • 50ml milk
  • 3 large eggs
  • 200ml sour cream or light sour cream
  • 1 tablespoon vanilla extract
  • 30g all-purpose flour

METHODS
1. Preheat oven to 180 Celsius. Line a 7-inch square pan with foil, extended for easy lifting-up later.
2. In a medium bowl, mix digestive crumbs with melted butter. Press onto bottom of the square pan and keep aside.
Mix crumbs with butter
Press crumbs onto pan

3. Using an electric mixer, mix cream cheese with sugar until smooth. Blend in milk, sour cream, vanilla and flour until smooth. Then mix in the eggs one at a time, just enough to incorporate.

4. Pour filling into prepared crust and bake cheesecake in preheated oven for 45 minutes.

5. Let the cheesecake cool in oven with the door closed for 1 to 2 hours to prevent cracking. Basically, just leave the cake to cool down together with the oven. It's still cooking actually while it cools!

6. Chill in refrigerator at least 4 hours or until ready to serve.
Yummy.. served with Starbucks Coffee

TIPS 
Get your cream cheese at nearby bakery shop, its much cheaper (I got mine RM12.90 for 500g) than even the hypermarket (RM9.99 for 250g).. You do the maths!

For more tips on cheese cake, go to Diana's Dessert

Saturday, August 27, 2011

Stripping the Zebra

My mum used to make this zebra cake back at hometown. Been searching a while for the right recipe from the web but most of the them turns out to be crumble and dry. Finally I got back to my mum for the recipe.

ZEBRA CAKE RECIPE
(mum's recipe - dun ask me who's the creator)
INGREDIENTS
Makes one 8" round cake

  • 10 whites + 2 egg yolks OR 6 whole eggs
  • 120g castor sugar
  • 150g cake flour or low protein flour
  • ½ tsp baking powder
  • ½ tbsp emulsifier / Ovalett
  • 100g butter, melted
  • 30g condensed milk
  • 2 tsp cocoa powder
  • 1 tsp chocolate emulco
  • Corn/Almond nibs for sprinkling (optional)
  •  
    METHOD

    1. Preheat oven to 170 Celsius. Prepare and grease a 8 inch round cake pan.
    2. Sift flour and baking powder. Set aside.
    3. Beat eggs, flour mixture, castor sugar and emulsifier (ovalett) on high speed for 10 minutes until batter turns light and creamy, i.e. thick ribbon state.

     
    4. Next step is to pour in the melted butter, condensed milk and vanilla essence. Mix at slow speed to minimize bubble or air into the batter.


    5. Divide batter into 2 portions (1st portion = 1/3, 2nd portion = 2/3)
    6. Fold in chocolate emulco and cocoa powder into the 1st batter.
    7. Using a small ladle, scoop 3 times of the original batter into the center of the greased cake pan. Then, scoop 3 times of chocolate batter onto the center of the plain batter you just scooped into the pan. Repeat until you have finished about half of the batter. Reduce to 2 scoops each now and continue layering. Reduce the amount of batter gradually until you only pour 1 scoop of each batter finally. The circles will become smaller and smaller.


    (Greedy, I used 3 small bake pan)
    (Baking in progress)


    8. Sprinkle almond nibs to cake (I omitted this).
    9. Bake at 170c for 30-40 minutes or until the skewer insert comes out clean.

    10. Let cake cools down on a wire wrack and enjoy.